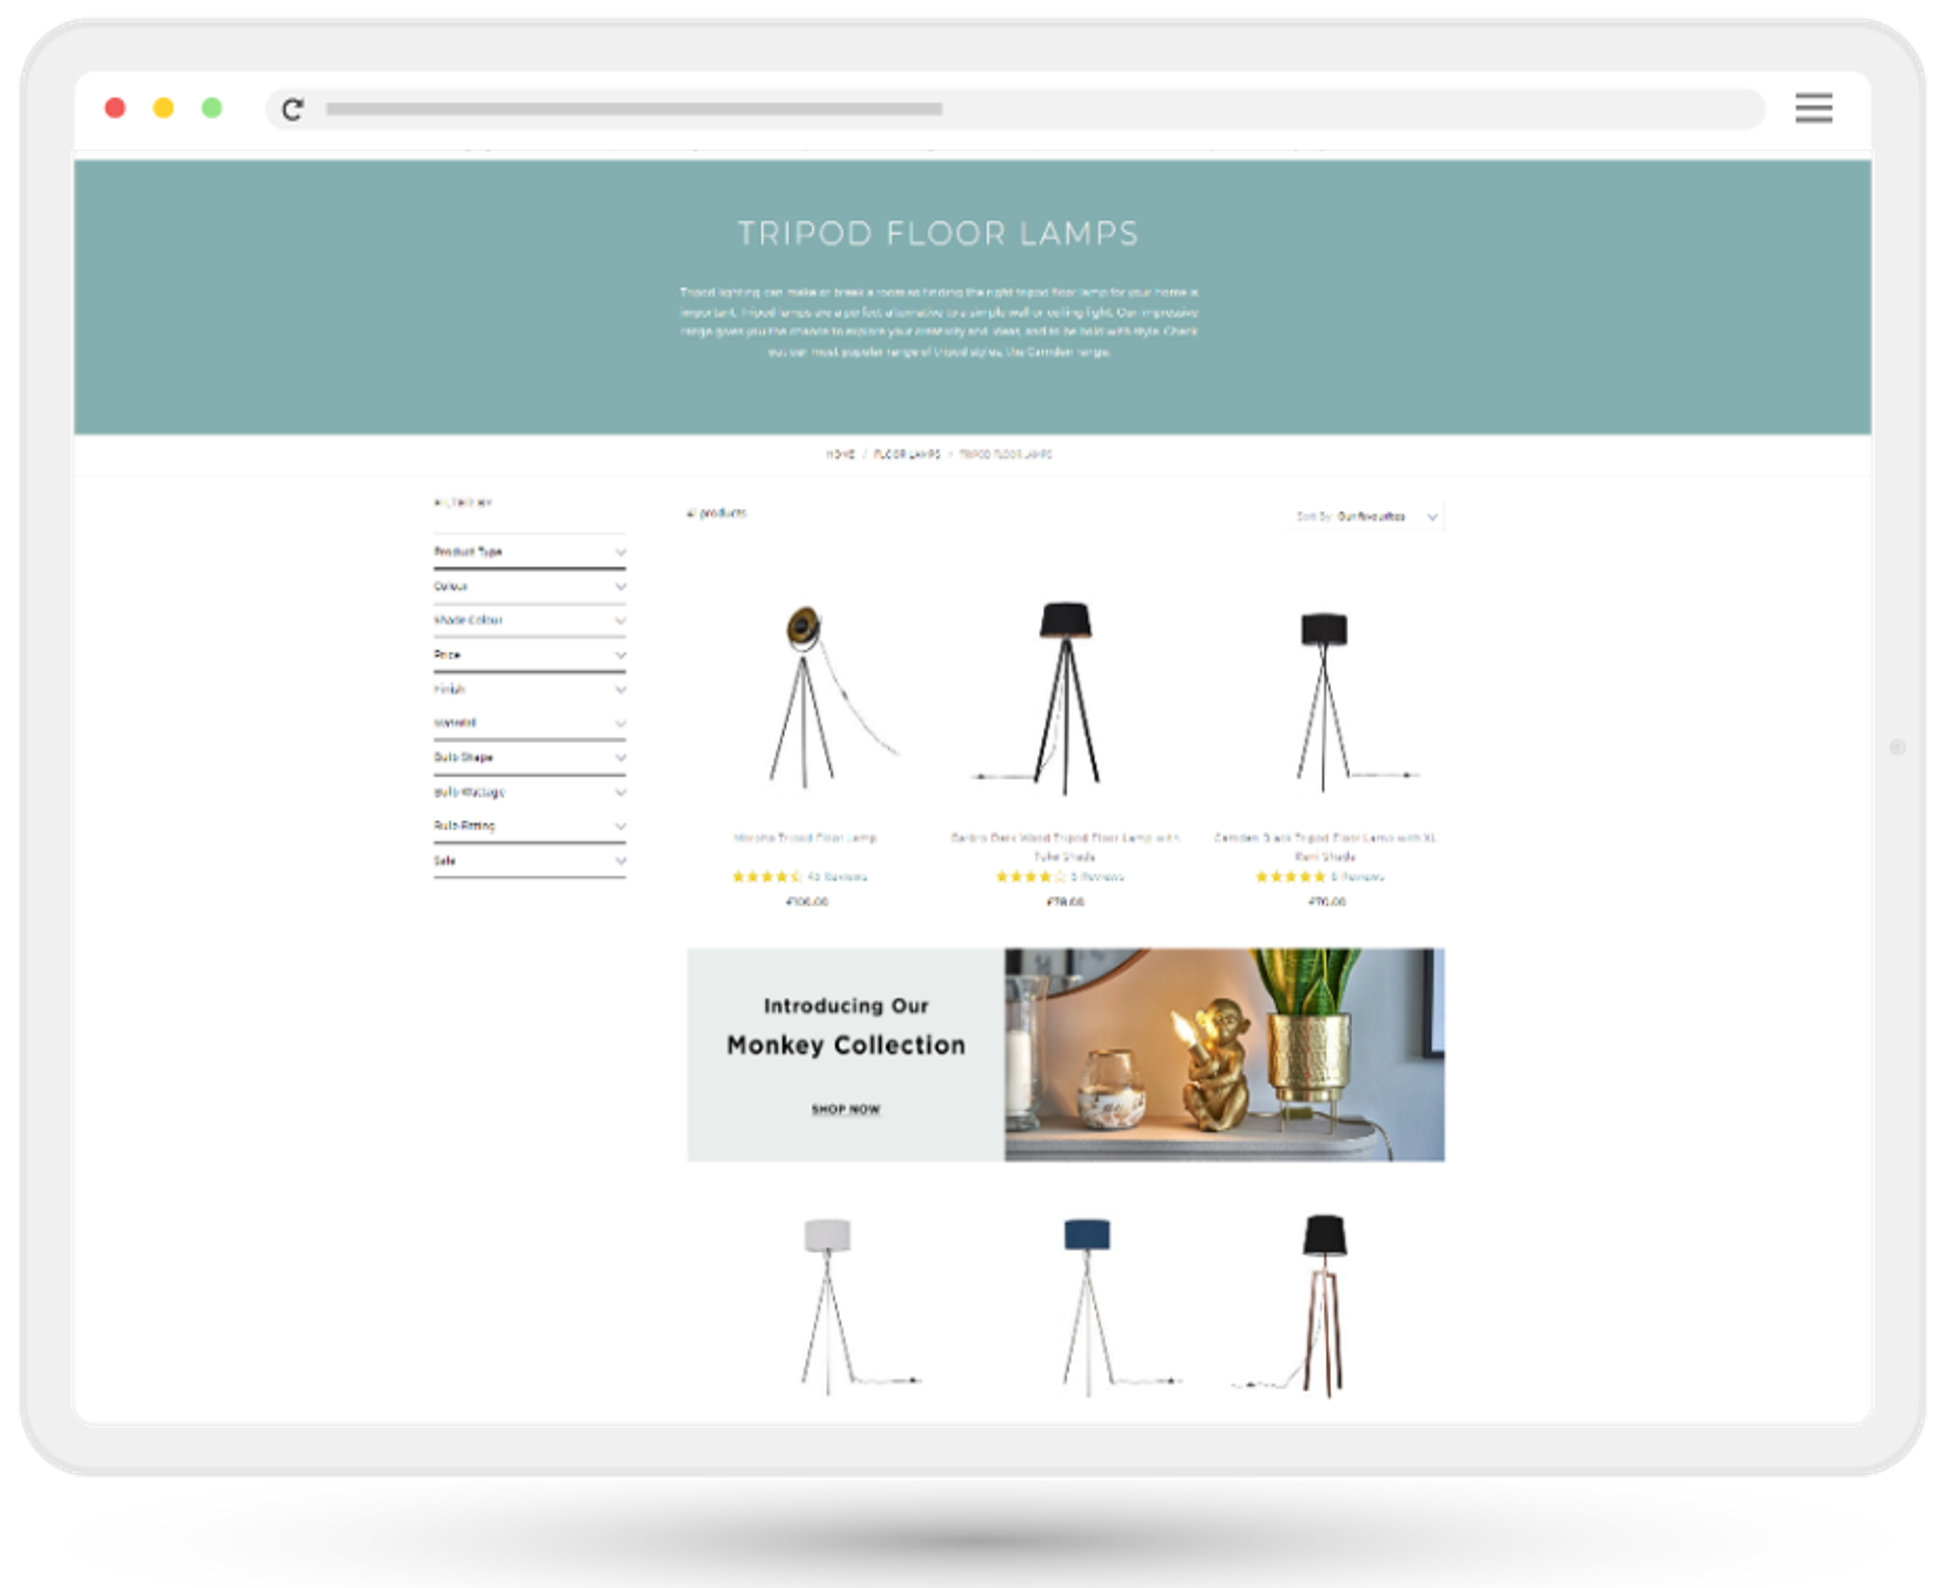
How to add content into Product Lists
Product List Pages can be a monotonous stage of a customer’s purchase journey, often with a long scroll through many products. Our Blog post 3 nifty ways to liven up your PLPs shares some ideas for spicing this up.
In this article, we look at how you can implement content within your product lists to break up that journey.
Customer View
Imagine you’re in the market for a new product, you visit your favorite retailer’s website and head to the category page. You’re greeted by beautiful banner content at the top of the page, but then what happens? Often The Great Scroll begins through several pages of similar looking products. Now imagine you’re using a mobile… Let’s jazz it up!
EXAMPLE

How to get started
Step 1 – Decide Placement
First consider the placement of your SmartBlock, see our Blog for examples:
- Product list width – Horizontally spanning the whole list of products
- Product sized – Takes the space of 1 product within a grid
- Side bar – Within the white space under category filters
The available placements will be dependent on your website configuration and how products are loaded into the page.
Step 2 – Create SmartBlock Content
Now you know the rough size of the content, consider the type of SmartBlock that you’d like to use.
- Banners – Great for drawing attention to upcoming events
- Recommendations – Consider showing products from similar/complimentary categories
- Coupons – Remind customers of any coupon codes they have available
Some other considerations for your SmartBlock setup:
- Redirect link – Will this enhance the customers buying experience or distract them from their initial purpose?
- Screen size – If your website resizes products or displays different layouts based on device, you may need to create multiple blocks. See our documentation on Desktop vs. mobile considerations
Step 3 – Create your slot
Add your SmartBlock(s) to a Website Personalization Slot with any rules and personalization you desire.
Consider changing the banner dependent on the PLP URL, showing relevant recommendations and offers for the products listed.
Step 4 – Deploy to your website
Using the Site Editor to add your Slot by dragging it into the desired web page.
If you wish to add this to all pages of a type (e.g. all PLPs) navigate to any of those pages.
At the bottom of the page click Advanced for some additional configuration options.
- In the Slot dropdown, find and select the slot you’re working on.
- Select the Position to Insert before or Insert after – be wary of using the replace options as this may hide products.
- In Page Type, you can set the scope of pages this should be added to. Note – if adding to multiple pages, be sure to check a good selection before publishing.
- In Location we can directly target how many products to be displayed before showing the content using syntax such as the below, which would insert the content at the position of the 7th product:
li.item:nth-child(7)
Feel free to reach out to our AMAZING support team at [email protected] for any assistance in placing this content.
