
Encourage conversions by showing discounted ‘Was’ prices
Showing discounts to customers is a great way to encourage conversions and instilling urgency for purchase.
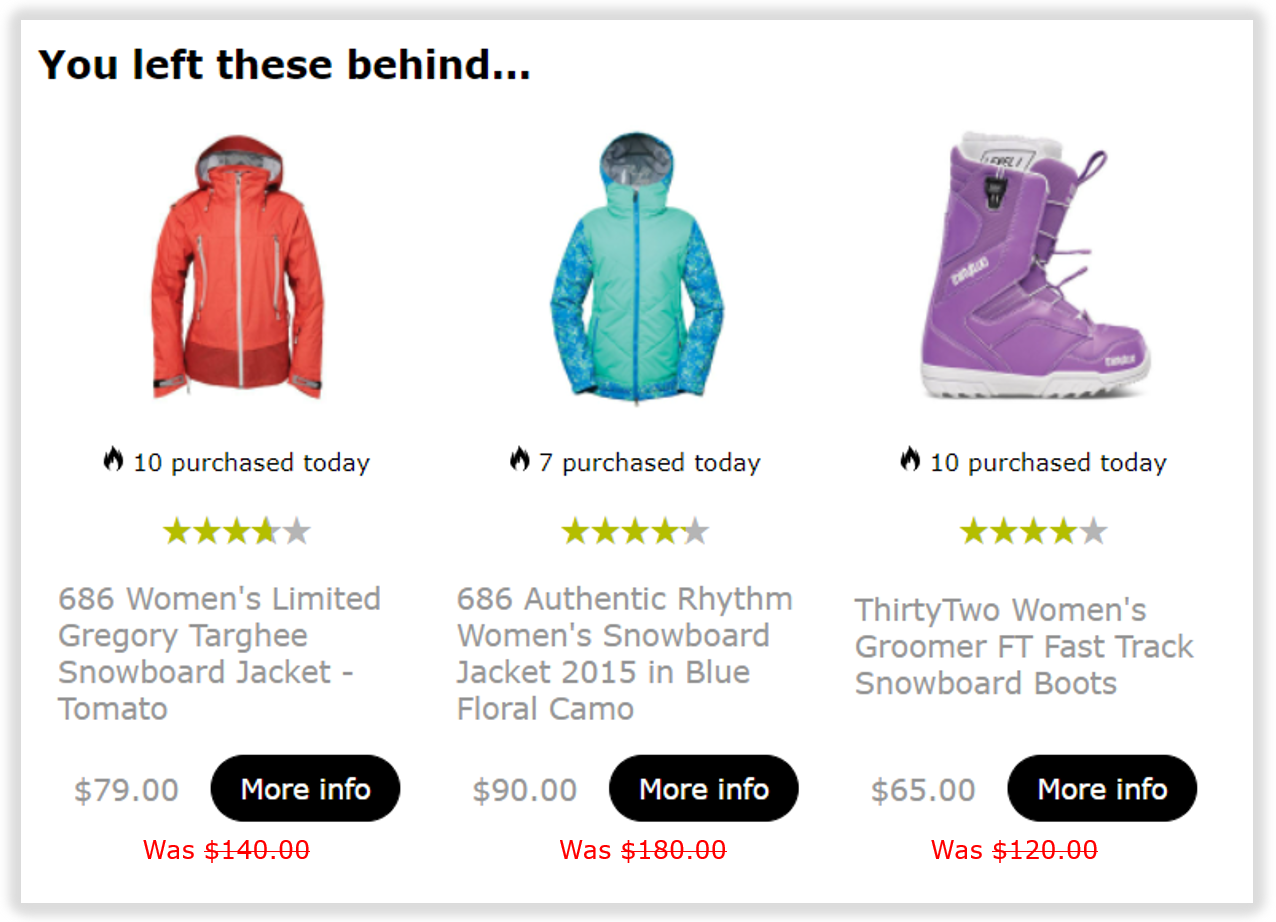
Fresh Relevance dynamically captures a product’s price (unit value) when customers visit that product page of your website, whilst also saving the product’s initial price (regular unit value). This means that you can easily display the original and discounted price point side by side.
By storing both price points you can even show the discount applied to each item.
This may require some small edits to the template code, if you encounter any issues with the steps below please contact our Support team on [email protected]
EXAMPLE
Adding ‘Was’ prices to your Cart Layout
Step 1 – Navigate to your Cart Layout
- On the left nav, go to Content | Cart Layout
- Click into your Cart Layout
Step 2 – Duplicate your Cart Layout Editor
- Scroll down to the Actions section, and click Copy to make a new version.
- Scroll down again to the Actions section, and click Edit Layout
Step 3 – Add ‘Was’ price code
1. Rename your Cart Layout as appropriate
Within the template code:
2. Find the code displaying the product’s price, e.g.
{{ product.uv|format_currency(cart.curr,2) }}
3. Replace this with the following code.
{% if product.ruv and (product.ruv > product.uv) %} Was
{{ product.ruv|format_currency(cart.curr,2) }}
Now
{{ product.uv|format_currency(cart.curr,2) }} {% else %} {{ product.uv|format_currency(cart.curr,2) }} {% endif %}
This code uses an If condition to show was prices only if the current price is less than the regular price.
4. Click Save
Step 4 – Preview the changes
Preview the Cart Layout for each of the Triggered emails you want to use your new ‘Was’ prices layout
Top Tip!
Use the Pick another cart button to find a cart that contains discounted products
Step 5 – Open your Triggered email program
- In the left hand nav, click Triggers
- Navigate to and click on the Trigger Program where you want to apply your new Cart Layout
- Click Configure Trigger Program
Step 6 – Apply your new layout to your Triggered email programs
For each of your email stages, click on the Cart Layout dropdown and select your new Cart Layout.
Click Save
Top tip!
Temporarily add your email address to the Catch-all email or BCC email field so you can receive a few live emails to check everything is working as expected.
Adding ‘Was’ prices to your Recommendations
New SmartBlock Builder
Our new SmartBlock builder has the functionality to display ‘Was’ prices as default.
You can find the options to enable and style this messaging on the Design tab, under the Product Cards section.
Old SmartBlock Builder
Whilst the ‘Was’ price functionality is not natively built into our old SmartBlock builder, you can add the code to the template as per the below:
1. Find the code displaying the product’s price, e.g.
{{ product.uv|format_currency(product.curr) }}
2. Replace this with the following code.
{% if product.ruv and (product.ruv > product.uv) %} Was
{{ product.ruv|format_currency(product.curr) }}
Now
{{ product.uv|format_currency(product.curr) }} {% else %} {{ product.uv|format_currency(product.curr) }} {% endif %}
This code uses an If condition to show was prices only if the current price is less than the regular price.
4. Click Save
Top Tip!
Clone any Layouts before editing the code to protect your live content, then apply the new layout to your SmartBlocks